Making Your First Contribution
Now that you’ve hopefully learned about version control and are feeling comfortable with git, if you arent go back and read through as well as watch the tutorials on Version Control, lets walk you through making your first contribution to one of our repos!
If you scroll down to the bottom of this page, you’ll see there is a list of names. hese are all your peers who also made their first contribution to this document. We’re going to add your name to the list!
First we’re going to need you to make a github account if you dont already have one.
If you already have one you can skip to the next step.
Making a Github account
Go to Github’s website
Click on Sign up in the top-right corner.
Enter a username, email address, and password, then click Continue.
Verify your email by checking your inbox for a confirmation message from GitHub.
Follow the on-screen setup instructions (you can skip optional steps).
Go to Github and log in with your new account.
(Optional) Set up your profile by adding a profile picture and bio.
Great job! You now have a Github account!
Joining the Organization
1. On discord send a message in the #programming channel that you have made a github account and would like to join the organization. Make sure to @ either the programming lead or the programming mentor, or both. 2. Wait for a response. Once added, you should receive an email invitation. 3. Check your email for an invitation from GitHub. 4. Click the link in the email and accept the invitation. 5. You should now see the organization listed under Your Organizations on GitHub!
Making your first contribution
Great, we can finally start making your first contribution! First let’s begin by cloning the repository. You can do this in a variety of ways,
Quiz
With what you learned from the tutorial video how would you do this?
but we’re going to do it with something called GitHub CLI.
Note
What is a CLI? A CLI is a Command Line Interface, which is a way to interact with a computer program using text commands. Here’s two good videos on Whats the difference between a GUI and CLI and Why do command lines still exist.
Open a terminal on your computer. On Max you can press cmd + space and type in terminal, on windows you can press win + r and type in cmd.
- Install Homebrew (brew)
/bin/bash -c "$(curl -fsSL https://raw.githubusercontent.com/Homebrew/install/HEAD/install.sh)"
Navigate to guide or just paste this snippet into your terminal
DISCLAIMER This command may require administrator privileges on your computer
- If you are on Mac you can just write
brew install gh
If you are on windows you can follow this guide.
Once you have installed the GitHub CLI you can run the following command to Login
gh auth login
This will prompt you to login with your github account on a web browser. Click Enter when Github.com is highlighted

It will then prompt you to select your preferred protocol, HTTPS or SSH. Select HTTPS and click Enter.
Then It will prompt you to Authenticate Git, type “Y” and click Enter.
Finally, Select Login in with a web browse. This will open a new tab in your browser where you can login with your github account.
Copy the code it gives you and then follow the onscreen instructions.
Once you have logged in you can run the following command to clone the repository
gh repo clone team3045/GremlinDocs
This will create a new folder in your current directory (folder) called GremlinDocs and clone the repository into it.
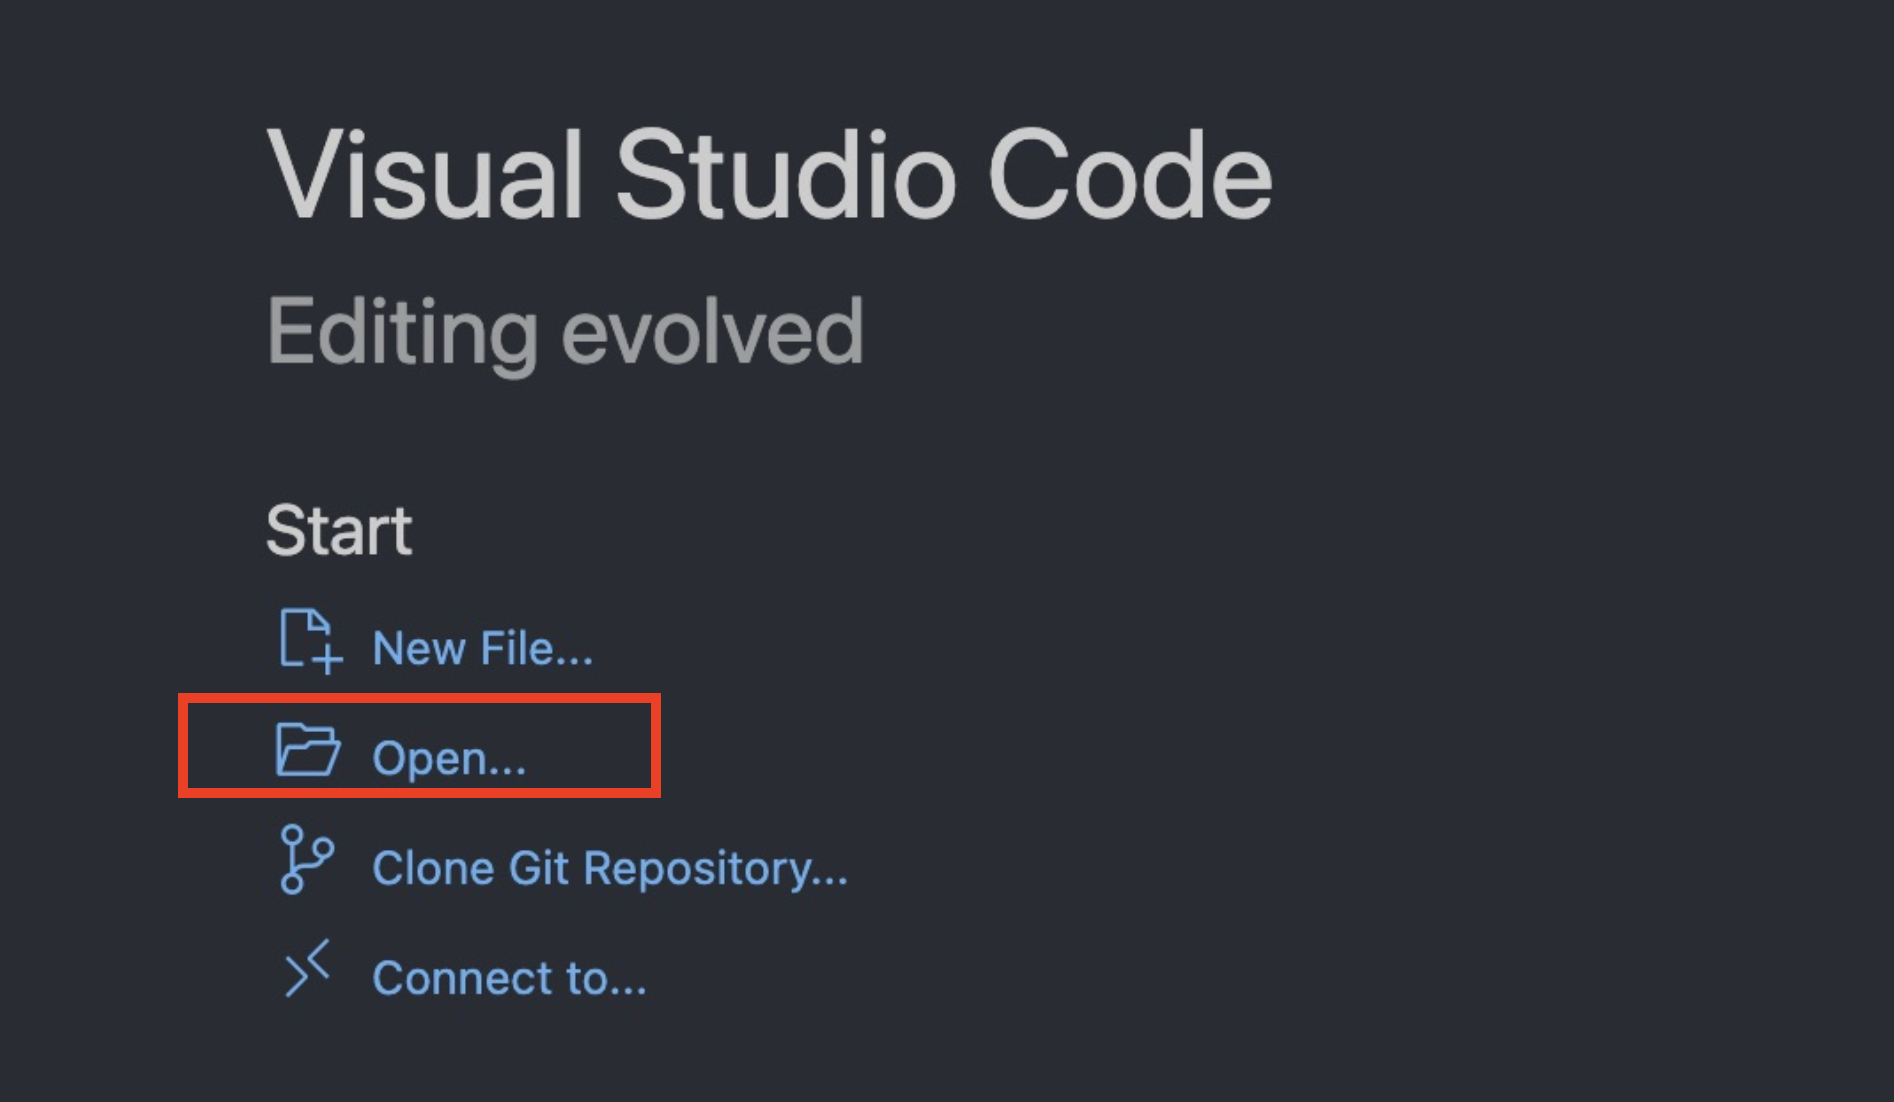
Open VSCode and open the folder GremlinDocs.
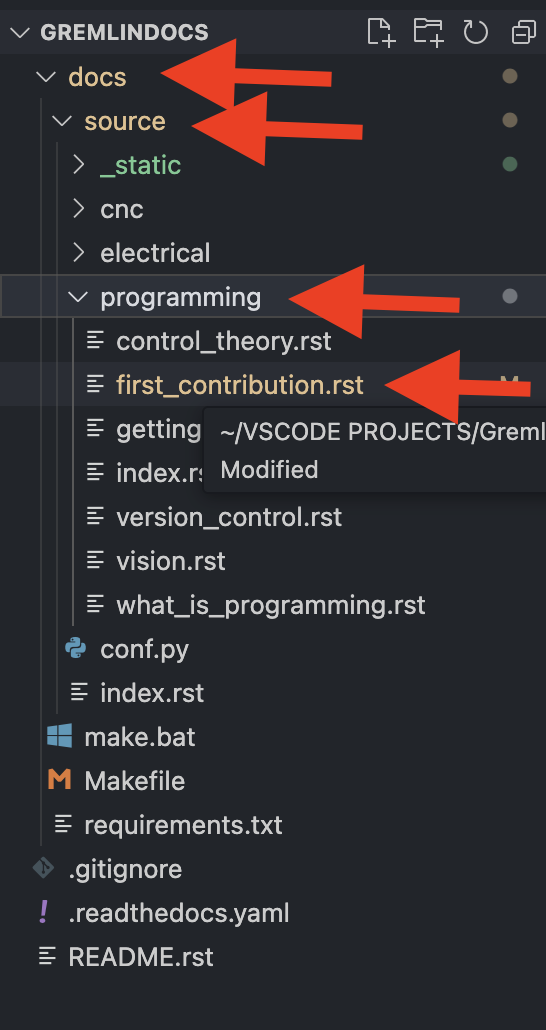
Open the file docs/source/programming/first_contribution.rst in VSCode.
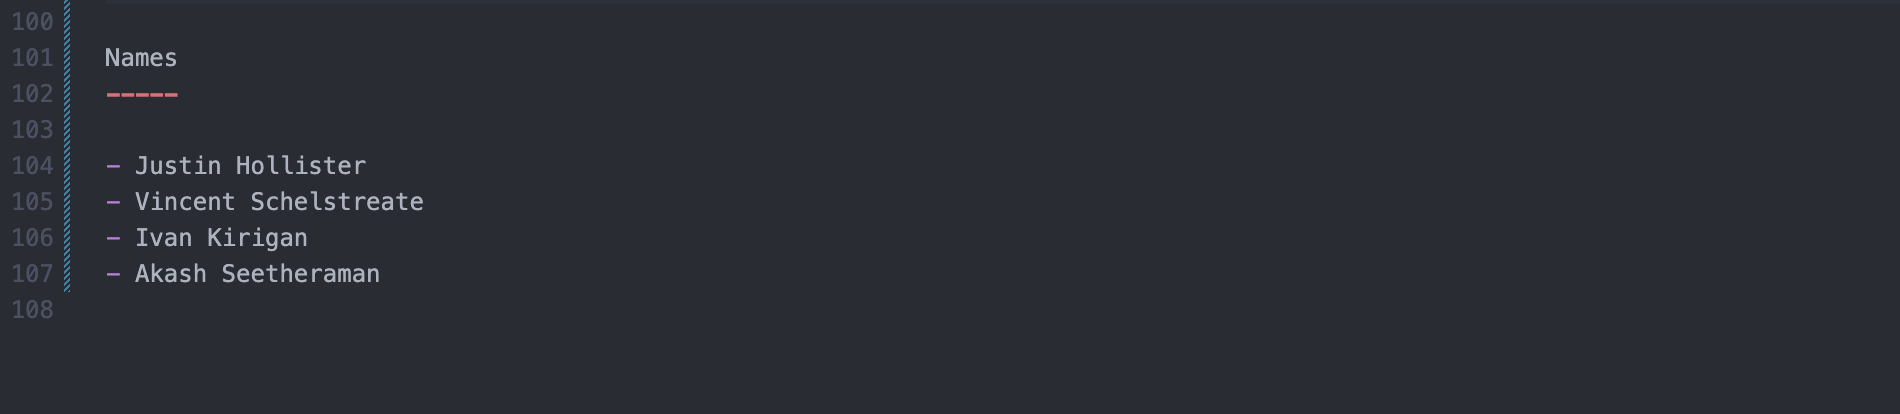
Scroll down to the bottom of the file and you will see a list of names. Add your name to the list.
Now that you’ve made your edit, lets commit it. Open the terminal in VSCode by pressing ctrl + ~ and run the following commands
First we want to make a new branch to make our changes on. This is so that we can keep our changes separate from the main branch. Run the command below to create a new branch with your name.
git checkout -b add_your_name
Next lets add all of our changes to the staging area. This is where we can see what changes we have made. First run the following command to see what changes you have made.
git status
You should see the file you edited in red. This means that the file has been modified.
Next run the following command to add the file to the staging area.
git add docs/source/programming/first_contribution.rst
Now that we have added the file to the staging area we can commit it. This is where we save our changes.
Run the following command to commit your changes.
git commit -m "Add your name to the list of names"
Now lets bring our changes back into the main branch. Run the following command to switch back to the main branch.
git checkout main
Finally lets merge our changes into the main branch. Run the following command.
git merge add_your_name
Now that we have merged our changes into the main branch we can push our changes to the repository. Run the following command.
git push
All done! You have made your first contribution!
Now that you’ve made your changes, wait a few minutes and reload this site to see your name added to the list!
Names
Justin Hollister
Vincent Schelstreate
Ivan Kirigan
Akash Seetheraman
Mihai Popescu
Caden Wei
Building the Docs Locally
Follow these steps to set up a virtual environment and build the documentation:
1. Create a Virtual Environment
In the project root (or inside the docs folder if preferred):
python3 -m venv venv
source venv/bin/activate   # On Mac/Linux
# OR
venv\Scripts\activate      # On Windows
2. Install the Requirements
If a requirements.txt file is provided:
pip install -r requirements.txt
Or install Sphinx manually:
pip install sphinx sphinx_rtd_theme
3. Build the HTML Documentation
Inside the docs folder:
make html
If make does not work (common on Windows):
sphinx-build -b html . _build/html
4. View the Documentation
Open the generated HTML files:
cd _build/html
Then open index.html in your browser:
xdg-open index.html    # Linux
open index.html        # Mac
start index.html       # Windows
Optional: Live Preview (Not Reccommended)
For automatic rebuilding when files change:
pip install sphinx-autobuild
sphinx-autobuild . _build/html
This will provide a local web address like http://127.0.0.1:8000 for live preview.